
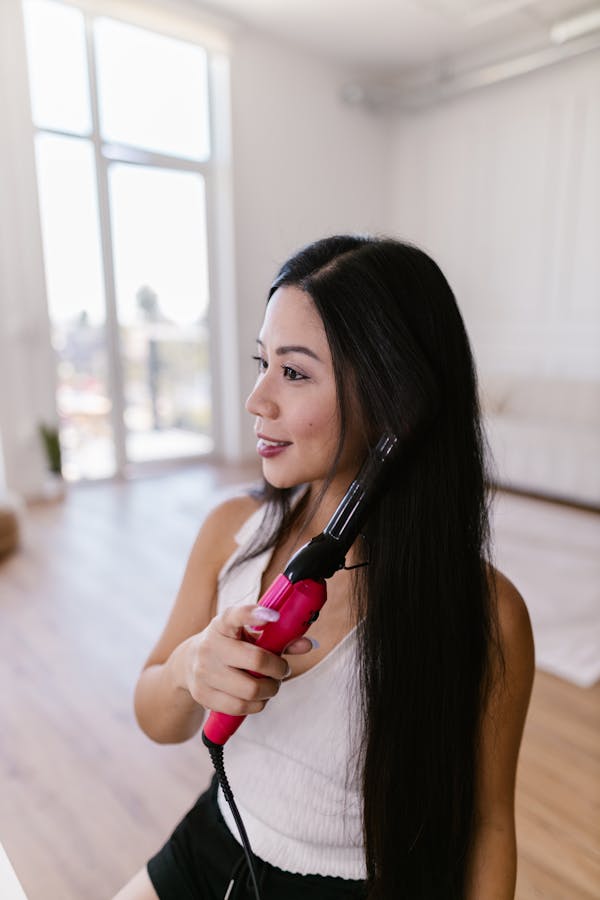
Are you tired of using the same old flat iron to style your hair? Look no further than the brush curling iron. This versatile tool allows you to create a variety of curls and waves, giving your hair that extra boost it deserves. Whether you’re going for bouncy ringlets or loose beachy waves, a brush curling iron can help achieve any look. In this blog post, we’ll show you exactly how to use a brush curling iron like a pro in just five easy steps. Say goodbye to boring straight hair and hello to fabulous curls with our expert tips!
Step One: Prepare Your Hair
Before using a brush curling iron, it’s important to properly prepare your hair. Start by washing and conditioning your hair with products that are suitable for your hair type. If you have fine hair, opt for lightweight formulas that won’t weigh down your locks. For thick or coarse hair, choose moisturizing products that will help tame frizz and flyaways.
Next, apply a heat protectant spray to shield your strands from the high temperatures of the curling iron. This is especially important if you use hot tools on a regular basis as it can prevent damage and breakage.
If you have naturally curly or wavy hair, consider straightening it before using the brush curling iron to achieve more defined curls or waves. Use a flat iron or blow dryer with a round brush to create smoothness and body in preparation.
Ensure that your hair is completely dry before using the brush curling iron as wet or damp hair can cause serious damage when exposed to heat styling tools such as this one. With these simple steps accomplished, we’re ready for step two!
Step Two: Select the Right Barrel Size
The key to achieving the perfect curl with a brush curling iron is selecting the right barrel size. Using the wrong size can leave you with either too tight or loose curls that are difficult to style.
When choosing your barrel size, consider your hair length and desired outcome. For shorter hair, opt for a smaller diameter barrel, while longer lengths benefit from larger barrels. This will help reduce damage to your tresses and make it easier to control.
If you’re aiming for tighter ringlets or spiral curls, choose a smaller barrel between ¾ inch and 1 inch in diameter. However, if you prefer looser waves or beachy curls instead, go for a larger sized barrel of approximately 1 ½ inches.
Remember that different brands may have varying sizes available so be sure to check product specifications before purchasing! Don’t be afraid to experiment with different sizes until you find what works best for you!
Step Three: Create a Base
Before you start curling your hair with a brush curling iron, it’s crucial to create a base that will hold the curls in place for hours. Here are some simple steps on how to achieve the perfect base:
Section your hair into two parts – top and bottom. Clip the top part away so that it doesn’t interfere with creating your base.
Next, take a small strand of hair from the bottom part and spray some heat protectant or hairspray onto it. Then wrap it around the barrel of the brush curling iron and roll upwards towards your roots. Hold for ten seconds before releasing.
Repeat this process until all sections of your bottom half are curled and pinned up using bobby pins or clips.
Now release the top part of your hair and repeat step three until all sections have been curled as well.
Creating a strong foundation is essential if you want long-lasting curls that won’t fall flat within an hour! So take time building up this foundational layer before moving on to wrapping each section around the barrel for beautiful results!
Step Four: Wrap and Curl
Now that you have created a solid base for your hair, it’s time to start curling! Take a small section of hair and place the brush curling iron at the ends. Wrap the section around the barrel while holding onto the end of your hair.
Be sure not to overlap each section as this could cause uneven curls. As you wrap your hair around, make sure that it is taut but not too tight. You want to avoid any kinks or creases in your curls.
Once you’ve wrapped all sections of your hair, hold them in place for about 10-15 seconds before releasing them from the brush curling iron. This will ensure that they’re set properly and will last throughout the day or night.
As you move on to different sections, remember to vary their sizes depending on where they are located on your head. Larger sections can be used towards the back while smaller ones should be used towards the front and sides.
By alternating between larger and smaller sections, you’ll achieve a more natural-looking style rather than uniform ringlets all over.
Remember: practice makes perfect when using a brush curling iron! Don’t get discouraged if it doesn’t turn out perfectly on your first try – keep experimenting until you find what works best for you.
Step Five: Release and Style
Now that you have curled all your hair sections with the brush curling iron, it is time to release and style them. This step will help you achieve a more natural look and add some volume to your curls.
To begin, gently remove the curling iron from each section of hair by unwinding it in a downward motion. Avoid pulling or tugging on the curls as this can cause them to lose their shape.
Next, use your fingers or a wide-toothed comb to separate and loosen up the curls for a more relaxed look. You can also flip your head upside down and shake out your curls to add some volume.
If you want tighter or more defined curls, run your fingers through each section while twisting it in one direction until you reach the end. Once you have done this for all sections, spray some hairspray over your entire head to set the style in place.
Remember not to overdo it with hairspray as too much product can weigh down your hair and make it look greasy. With these simple steps, you are now ready to show off those beautiful bouncy curls created with a brush curling iron!
Finish with Hairspray
Now that you have learned the steps to use a brush curling iron, it’s time to put them into practice and achieve those beautiful, bouncy curls. Remember to always prepare your hair properly, select the right barrel size for your desired look, create a base with each section of hair before wrapping and curling with the brush curling iron. Release and style each section as you go along, being careful not to ruin any curls in progress.
Finish off your look by applying hairspray evenly across all sections of hair to ensure long-lasting hold throughout the day or night. With these tips in mind and some practice under your belt, you’ll be amazed at how easy it is to create salon-worthy curls using just a brush curling iron! So go ahead and give it a try – we can’t wait to see what styles you come up with!
About the Author